
Guide · Detailing & Paint Correction
What is paint correction? How it removes swirls and scratches, and when it's worth it
Paint correction levels your clear coat by machine to take swirls, haze and light scratches out for good, and it's the step that decides how a coating or film will look.
Written and reviewed by Mohammad Habboushi, Founder of Tinting Xperts
· 11 min read

Key takeaways
- Paint correction is machine polishing that removes a very thin layer of clear coat to level out swirls, haze and light scratches.
- It removes defects permanently, unlike a glaze or wax that only fills them for a while.
- It can't fix scratches through the clear coat, stone chips or peeling paint; those need paint repair.
- Clear coat is thin, so a careful detailer measures it and removes as little as the defects need.
- Correct the paint before a ceramic coating or paint protection film, or the defects are sealed in underneath.
What is paint correction? It's machine polishing that removes a very thin layer of your car's clear coat to level out swirls, haze and light scratches. The defects aren't filled or hidden. They're taken out, so the paint reflects light cleanly again.
This guide explains how paint correction works, what it can and can't fix, what stage 1, 2 and 3 mean, how much clear coat it takes, and why it comes before a ceramic coating or paint protection film. It also answers the questions people ask before booking one.
What is paint correction, exactly?
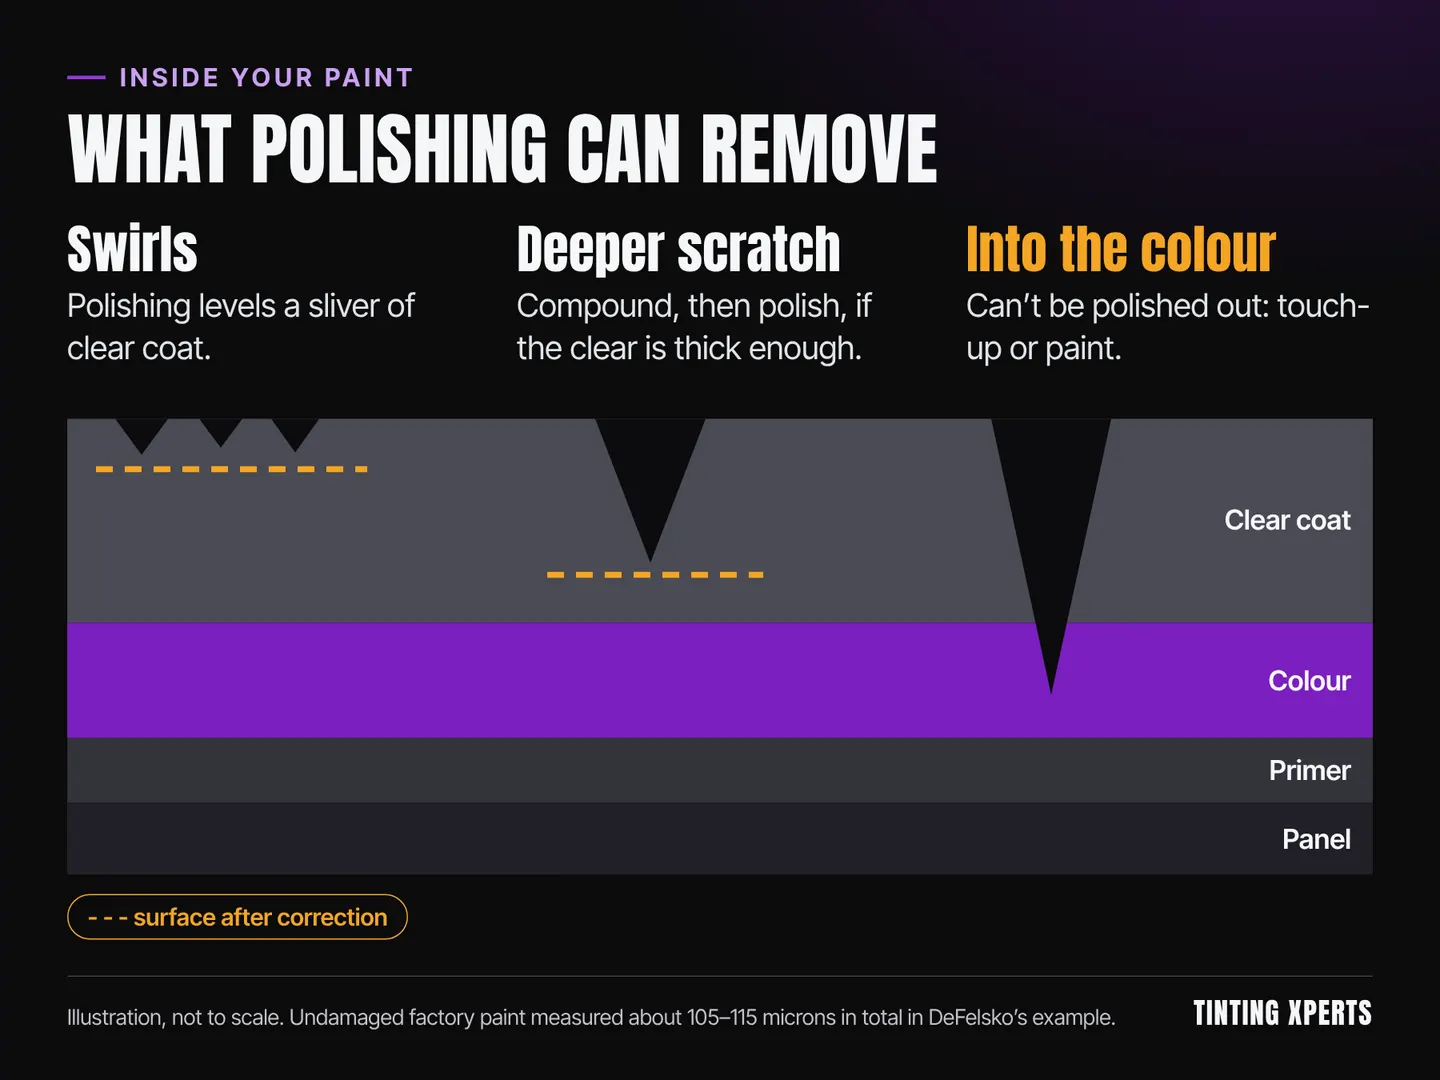
Most modern cars have a clear coat on top of the colour. Swirls, wash marks and light scratches live in that clear layer. Under a light, each scratch is a tiny valley with sharp edges that scatter light, which is why scratched paint looks dull and webbed in the sun.
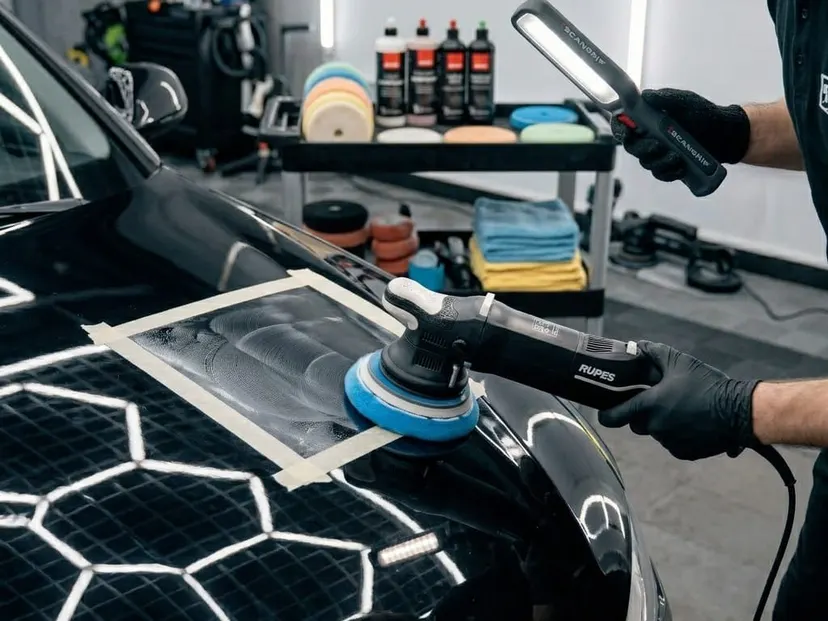
Correction works by levelling. A machine polisher spins an abrasive compound across the surface, and it cuts the clear coat down to the bottom of the defect. When the surface is flat again, the scratch is gone. Finer polishes then remove the faint haze the heavier cut leaves behind.
XPEL, a paint protection maker, describes paint correction as restoring paint by polishing away surface imperfections.[1] It lists the defects it targets as swirl marks, sun damage, light scratches, clear coat haze, and etching from acid rain, bugs and bird droppings.[1]

Correction vs a polish, glaze or wax
Plenty of products make paint look better for a while by filling scratches with oils and fillers. They wash out, and the swirls come back. True correction removes the defect instead of masking it.
That difference matters when you inspect the work. Gtechniq, a coating maker, warns that polish residue left on the paint can hide fine scratches until it's removed with a panel wipe.[2] GYEON says its Prep product exists to strip polishing oils, old wax and most polishing fillers before a coating.[3] A good detailer wipes the paint down and checks it again before calling a panel finished.
What paint correction can and can't fix
Correction only reaches defects that sit inside the clear coat. Anything deeper needs paint, not polish.
| Defect | Can correction remove it? | If not, what fixes it |
|---|---|---|
| Swirl marks and wash marring | Yes, usually completely | Not needed |
| Light scratches you can't catch with a fingernail | Yes, in most cases | Not needed |
| Haze, dullness and oxidation | Yes | Not needed |
| Water spots and etching from droppings or bugs | Often, if the etch hasn't gone deep | Paint repair on a deep etch |
| Scratches that catch a fingernail | Can often be reduced, rarely removed | Touch-up or a panel respray |
| Stone chips | No: the paint is missing | Touch-up paint, then paint protection film |
| Peeling or flaking clear coat | No: polishing makes it worse | A respray of the panel |
The fingernail test comes from Meguiar's, which says a scratch deep enough to catch your fingernail will likely need professional removal.[4] Etching from droppings and bugs is on XPEL's list of defects correction targets, but how deep an etch goes decides whether it fully comes out.[1]
Where swirl marks come from
Swirls are mostly self-inflicted. Meguiar's says it's the washing process that inflicts most swirls or light circular scratches on your paint.[4] Grit trapped in a sponge, a dirty mitt or a rough towel drags across the clear coat in circles.
Brush car washes, wiping a dusty car with a dry cloth and drying with an old bath towel all do the same thing. So does a dealer's quick machine polish if it's done badly. That's why even new cars sometimes need correcting: XPEL notes imperfections can appear at any time, including from the factory or in transport.[1]
Prevention is cheaper than correction. Meguiar's recommends hosing the car down first, using a deep-pile wash mitt and the two-bucket method, with a grit guard in the rinse bucket.[4]
How much clear coat does paint correction remove?
8 microns
The most clear coat that most car makers recommend removing, according to paint gauge maker DeFelsko[5]
Clear coat is thin, and once it's gone it doesn't come back. DeFelsko, which makes paint thickness gauges, says clear coat usually measures 35 to 50 microns.[5] It says the whole factory paint system, from primer to clear, typically measures 100 to 180 microns.[5]
That's why the amount removed matters so much. DeFelsko says most car makers recommend removing no more than 8 microns of clear coat, to protect the layers underneath from UV damage.[5] It also says car makers now specify that paint thickness be measured before and after any wet sanding or buffing.[5]
In Australia the UV point isn't academic. Cancer Council Australia says the country has some of the highest levels of UV radiation in the world, and UV is present every day of the year.[6] Clear coat is the layer that shields the colour from it, so it's worth keeping as much as you can.
Why a paint gauge is part of the job
You can't see how much clear coat is coming off. DeFelsko says it's virtually impossible to see how much paint is being removed during buffing, so readings should be taken regularly.[5] A gauge also spots trouble before the polisher touches it.
Thin readings can mean the clear coat is nearly gone, so that panel gets the lightest possible polish.[5]
Unusually thick readings often mean the panel has been repainted, which can behave differently under a polisher.[5]
No reading at all can mean filler and a likely repair underneath.[5]
Stage 1, stage 2 and stage 3 paint correction
"Stages" describe how many polishing steps a car needs. More stages remove heavier defects, and also remove more clear coat, so the right number depends on the paint, not the price list. XPEL describes the three stages like this:[1]
Stage 1. For paint with no visible blemishes or only light damage. One machine polish with a finishing polish and a finishing pad, to lift gloss and clarity.
Stage 2. For visible swirls and light scratches. A more abrasive compound first, then a finishing polish to remove the marring and holograms the compound leaves.
Stage 3. For heavy swirls, visible scratches and other defects. A cutting compound on a heavy cutting pad, possibly spot wet sanding on severe scratches, then a polish.
XPEL also notes that modern compounds have streamlined the old three-stage approach, and that each car should be assessed on its own.[1] Stage 3 is for neglected paint, or for owners who want the closest thing to flawless and accept the clear coat it costs.
The paint correction process, step by step
Here is how a correction job runs from start to finish. The order matters, because each stage prepares the surface for the next one.
Inspect and measure
The paint is checked under strong light, and its thickness measured panel by panel. Ceramic Pro's own prep guidance starts the same way: review the paint's condition, previous repairs and the owner's goals.[7]
Wash thoroughly
A careful hand wash removes loose dirt so it can't be ground into the paint by the polisher.
Decontaminate with clay
Clay lifts contamination bonded to the paint that washing can't shift. Meguiar's lists tree sap, bird lime, industrial fallout and overspray among the things clay removes.[4]
Mask and test
Rubber, plastic trim and badges are taped off. Then a test spot shows which compound and pad remove the defects with the least cut.
Compound, then refine
The heavier compound removes the defects panel by panel. A finer polish then removes the haze it leaves and brings back full gloss.
Wipe down and re-inspect
Polishing oils are removed with a panel wipe so nothing hides leftover marks.[2] Each panel is checked again under light, and touched up where needed.
Protect the result
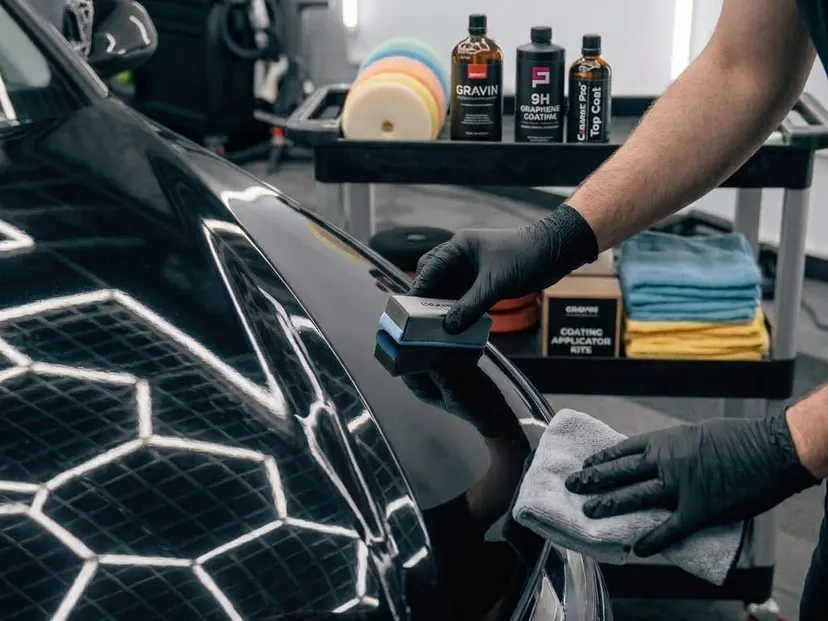
Corrected paint is bare and clean, which is the ideal base for a ceramic coating or paint protection film. GYEON says a clean, residue-free surface is what lets a coating bond properly.[3]
Why paint correction comes before ceramic coating or PPF
A ceramic coating is clear and glossy, so it shows whatever is under it. XPEL warns that without correction, blemishes and scratches are sealed under the coating and highlighted after the fact.[1] It concludes that correcting the paint before a coating is the best way to get the product's best results.[1]
Coating makers say the same. Ceramic Pro Australia's prep steps for its 9H coating are to wash, decontaminate and correct the paint where required.[7] Paint protection film works the same way: it seals in any swirls and scratches under the film. Our guide to how long ceramic coating lasts explains why prep is part of a coating's lifespan.
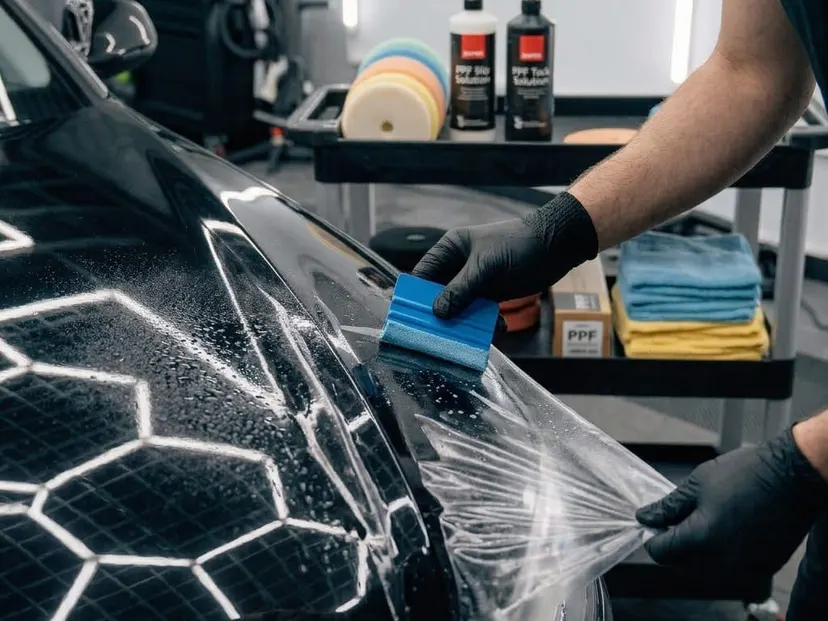
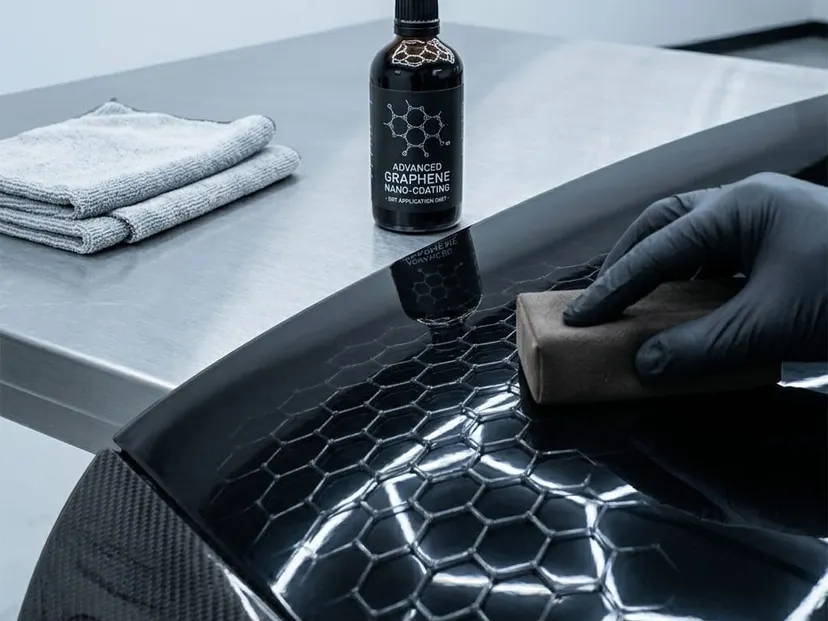
Not sure which protection to put on afterwards? PPF vs ceramic coating compares them side by side, and our ceramic coating service page explains how we apply it.
How long does paint correction last?
The correction itself is permanent: a swirl that's been levelled out doesn't come back. What lasts or doesn't is the finish, because new swirls arrive the same way the old ones did. Washing habits decide most of it.
Wash gently. Use two buckets, a clean mitt and a soft drying towel, as Meguiar's recommends.[4]
Avoid brush car washes. They put back the circular marks you just paid to remove.
Protect it. A coating makes the surface slicker and easier to clean, and Gtechniq says swirls and scratches will be minimised as a result.[2]
Deal with droppings and sap quickly. Etching is one of the defects correction exists to fix, so don't let it start again.
Park in shade when you can. It slows the sun damage XPEL lists among the defects correction treats.[1]
Because each correction removes some clear coat, it isn't something to repeat often. Protecting and washing the paint well keeps the result so you don't need another one.
Is paint correction worth it?
It's worth it when the paint is healthy but marked, and you want it to look its best for years. It's not worth it when the damage is deeper than the clear coat.
When it makes sense
Before a ceramic coating or PPF. You only get one chance to put the best possible surface under it.
On a dark car that shows swirls in the sun. Dark colours make wash marks easiest to see.
Before you sell. Swirl-free paint photographs and presents far better.
On a new or near-new car with dealer or transport marks. A light stage 1 often brings it up to standard.
When it doesn't
Clear coat that's peeling or flaking. Polishing can't fix failing paint; the panel needs a respray.
Paint already measured as very thin. There's no clear coat left to level safely.
Mostly stone chips. Chips are missing paint. Touch them up, then look at film for the front of the car. Read is paint protection film worth it first.
A car you're about to wrap. The film hides the gloss anyway. Our guide on car wrap vs paint covers what a wrap needs underneath.
Can you do paint correction yourself?
You can, with a dual action polisher, the right pads and patience. Dual action machines are generally the gentler choice for beginners than a rotary polisher. The bigger risk is not knowing how much clear coat you have left.
If you have a valuable car, a respray in its history, or dark paint with heavy swirls, a professional with a paint gauge is the safer route. For lighter jobs, a good hand wash and a vehicle detailing service may be all the paint needs.
What decides the cost of paint correction
We don't publish prices, because the time each car takes varies so much. These are the things that set the quote:
The paint's condition. Light swirls need one stage; heavy marring and scratches need more.
The size of the car. More panels means more time with the polisher.
The paint itself. Some clear coats are hard and slow to cut; others are soft and need a gentle finish.
How close to flawless you want it. Chasing the last few marks takes the most time.
What goes on afterwards. Correction is often quoted together with a coating or film.
Send us the make, model and year, and a few photos of the paint in sunlight, through our quote request page. We'll come back with a written quote.
Our service
Paint correction is careful machine polishing that levels swirl marks, haze, holograms and light scratches out of your car's clear coat, so the paint looks deep and glossy again. We check paint depth, test a section, and correct panel by panel in indoor bays at Revesby and Condell Park, with a written quote first.
Our service
Car detailing is a deep clean of your car, inside and out, that goes well past a wash. We decontaminate the paint, clean wheels, arches and door shuts, and vacuum, shampoo and dress the cabin, by hand in indoor bays at Revesby and Condell Park, with a written quote before we start.
Paint correction questions
Does paint correction remove scratches?
It removes scratches that sit within the clear coat, such as swirls, wash marks and light scuffs. Meguiar's says a scratch deep enough to catch your fingernail will likely need professional removal.[4] Scratches through to the colour or primer need paint repair, not polishing.
What is the difference between stage 1 and stage 2 paint correction?
Stage 1 is a single finishing polish for light damage, mainly to restore gloss. Stage 2 adds a more abrasive compound first to remove visible swirls and light scratches, then a finishing polish.[1] Stage 2 removes more defects and slightly more clear coat.
How long does paint correction last?
The defects it removes are gone for good. New swirls come back with careless washing, so the result lasts as long as your washing habits allow. A coating and a gentle hand wash keep it looking corrected for years.
Does paint correction thin the paint?
Yes, slightly: it works by removing a thin layer of clear coat. DeFelsko says most car makers recommend removing no more than 8 microns of it.[5] A careful detailer measures the paint and uses the least aggressive method that works.
Should I get paint correction before ceramic coating?
Yes, on almost every car. XPEL says that without correction, blemishes and scratches are sealed under the coating and highlighted.[1] Even a new car usually benefits from a light polish first.
Can paint correction fix stone chips?
No. A stone chip is missing paint, and polishing can only level what's there. Chips need touch-up paint, and paint protection film is what stops new ones on the front of the car.
Is paint correction the same as cut and polish?
They're the same idea: compound to cut out defects, then polish to refine the finish. "Cut and polish" sometimes means a quick single pass with a filling polish that hides swirls for a while. Ask whether the defects will be removed or filled.
Want to see what correction would do for your paint? Bring the car to our Revesby workshop or our Condell Park workshop and we'll look at it under the lights with you.
Sources
- [1]XPEL. Paint Correction 101: Understanding the Process & Ceramic Coating, 2023-08. ↑
- [2]Gtechniq Australia. Gtechniq Australia FAQs, 2026. ↑
- [3]GYEON. Q²M Prep, 2026. ↑
- [4]Meguiar's UK. FAQs, 2026. ↑
- [5]DeFelsko Corporation. How to Use Paint Thickness Gauges for Better Automotive Detailing, 2025. ↑
- [6]Cancer Council Australia. UV Index, 2026. ↑
- [7]Ceramic Pro Australia. Ceramic Pro 9H Ceramic Coating, 2026. ↑
About the author
Founder, Tinting Xperts
Mohammad Habboushi founded Tinting Xperts in 2016 with one bay, one squeegee and a rule the team still works to: if it isn't right, it doesn't leave. The business has grown to two workshops, at Revesby and Condell Park, and a team of more than 30 fitters, and Mohammad still fits cars on the floor most days.

